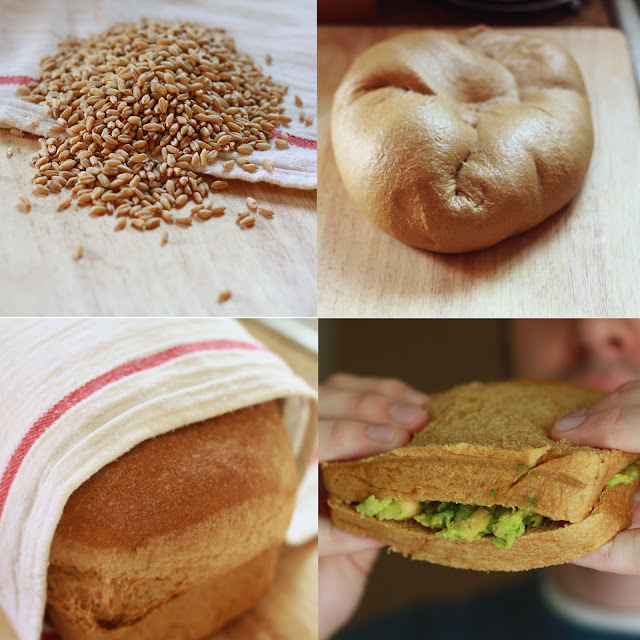
I can remember very few times eating store-bought bread. My mom was very diligent in making homemade bread not only because it was super healthy, but it is also super cheap ($.25 vs. $3.00).
Aaron and I have not bought a single loaf of bread from the grocery store in the nine months we've been married. I've made bread 1-2 times per week and I've learned a few key tricks during that time. I must also confess that it has taken a lot of trial-and-error to perfect this recipe. The first time I started making my own bread was my freshmen year in college. My first attempts resembled bricks: hard, inedible, dangerous.
However, this particular bread is really good. I have actually had quite a few compliments on this recipe; one friend said it was the softest, most delicious homemade bread she'd ever had. She asked for the recipe so I thought it would be a good time to share it on the blog.
I know some ladies might be a little nervous about making homemade bread because of the long instructions and "hours" that the process takes. Well, I'm here to tell you that it really doesn't take that long. In fact, I'd rather make bread than go out to the store and buy it.
Here are some key steps in making soft bread:
- Make a sponge (more on that later)
- Give the bread plenty of time to rise
- Humidity must be high during baking time
Ready. Set. Go.
Whole Wheat Sandwich Bread
Whole Wheat Sandwich Bread
Makes 2 loaves
2 1/2 cups warm water
1 Tbsp yeast
1/4 cup olive oil
1/4 cup molasses (this is vital)
1 1/2 Tbsp dough enhancer (you can find this at any grocery store)
1 1/2 tsp sea salt
6-8 cups whole wheat flour
- Make the Sponge:
Add water, yeast, olive oil, and molasses into an electric mixing bowl (it helps to measure the olive first since it will lubricate the measuring cup for the molasses). Slowly mix in 3-4 cups of flour until the mixture resembles a thick goo. Cover and let sit for 1 hour. - Make the Dough:
Add dough enhancer and sea salt. While mixing, slowly add flour until the dough does not stick to the edges of the bowl (it still may stick to the middle/paddle, but that's okay). The dough should be slightly sticky, shiny, and very pliable. You do not want to add too much flour, this will make the bread very dry. It may take a few times to really know right consistency of the dough, but it is better to add too little flour than too much. - Knead:
Either by hand or with an electric mixer, knead dough for 10 minutes. Do not skimp on kneading time. I usually put my Bosch mixer on the lowest speed and set the timer for 10 minutes, then I can do other things. After it is done kneading, set in large, oiled bowl and cover and let rise for 1 hour. - Making the Loaves:
Take out dough and gently push the air out by folding it. Spray 2 loaf pans with non-stick spray and set aside. Split the dough into two equal balls and shape into loaves, and (this is the fun part) throw the dough onto the counter as hard as you can. This pops the big air bubbles so your loaves do not have caverns inside. Place loaves in bread pans and cover with cloth. Let rise for 40 minutes. - Baking:
After the 40 minutes, turn the oven on to 350 degrees and place a pie tin with water in the bottom rack. This creates humidity which cooks the bread more evenly and makes it oh-so-moist. Once the oven is preheated, carefully place loaves in oven and bake for 35-40 minutes. Let cool for a few minutes before placing on cooling racks.

Have you ever halved this recipe or frozen the extra dough? 2 loaves would be too much for my little family...plus I only have 1 loaf plan =)
ReplyDeleteI haven't tried freezing the dough, but I have put loaves in the fridge and freezer and it works fine :) You can also halve the recipe, that works too!
ReplyDeleteYum! That looks amazing!!!!
ReplyDelete-meandmr.com